Hi everyone! More power to The Color Room! Happy 1st Anniversary! One year of sharing ideas! I personally enjoyed participating in their challenges using the design team's color palettes. Truly a fun place that will push your creativity.

Here's my take on the 52nd palette challenge. My idea for this page is to make the title (Love) the main layout.
First, I made the letter O by framing the photo inside a circular scalloped edge die-cut (which I got from a previous R.A.K.). Then, I wrote a few verses from 1 Corinthians 13:4-13 around the frame. I cut the letters V and E using my Slice machine and Slice DC Basic 2 from patterned cardstocks. Then, I inked the edges of each for depth.

I made the letter L by cutting two different flourishes using my Slice machine and DC Remember This from a plain cardstock. For the page background, I misted the base using a mixture of watercolor (color near with carnation pink) and Perfect Pearls Interference Violet. After drying the mist, I sprayed the base with non-yellowing fixative then let everything dry.

I cut strips of patterned paper to create the border/edge. I punched the first two strips using Martha Stewart Double Scallop edge puncher. Then, I inked the edges of each for depth.

I folded the pink stips as shown above. Then inked each folded edge, again for depth.

I assembled the strips on the top and bottom edge of the base with adhesive. After drying the adhesive, I added hand backstitches using thread for embroidery and with the aid of a tracing wheel.

Then the fun part which is adding embellishments... I cut the birdcage and butterflies from a patterned cardstock (DCWV Mariposa Collection) using a craft knife and my very handy curve scissors that is very good in cutting curved patterns (which, btw, I had for years since the Papier Tole craze started here in our country).

I made the partial bricked wall to mask the cut edge of the birdcage by cutting from the patterned paper similar with the one I used on the borders. Then I doodled the grout and edge with a marker to finish it.
I added assorted paper flowers and fabric flowers. I made the big paper flower on the letter L. For details on how I made the paper flower you may visit it here. I left the wire-stems of some flowers attached and twisted each using a beading pliers.
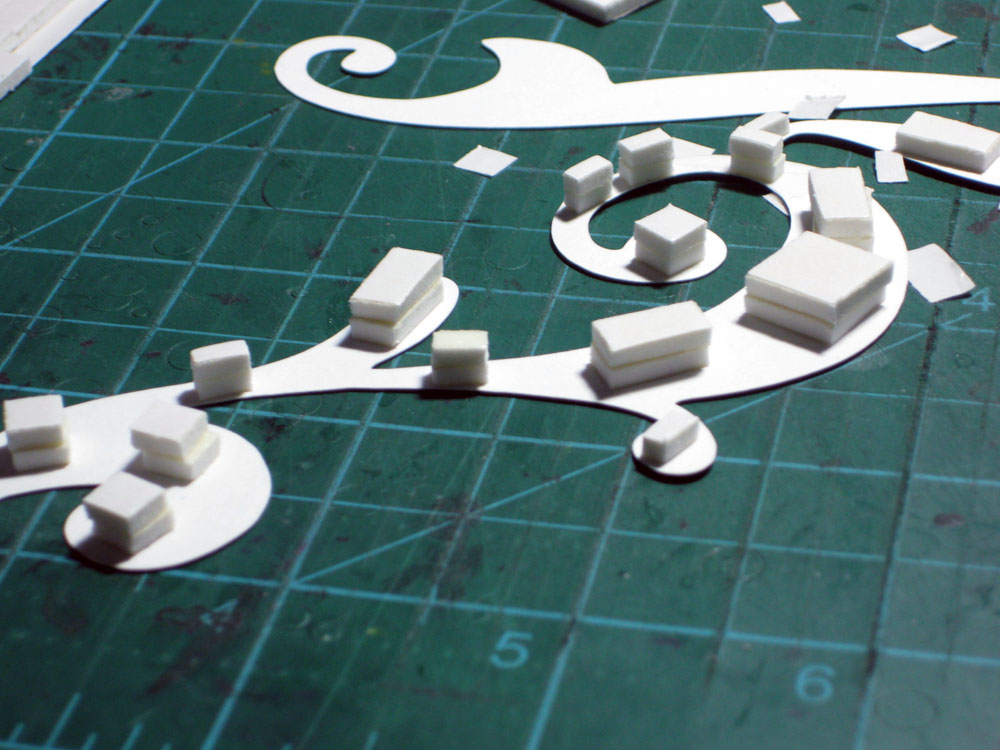
I layered foam tapes on the back of the letters L and V to create variation on the levels of each. This will provide volume and different shadows.

To complete the title I attached the sticker letters "i" and "s" on a pre-made chipboard tag forming "is", then "a" from a rub-on sheet and wrote the word "Blessings" with a calligraphy pen. For the final touch, I added swirls and doodles of glittered glue. Also, here you can see the volume and the play of shadows I made with this layout.

TCR Palette #52
Thanks for viewing and have a great weekend ahead! Happy Crafting!
No comments:
Post a Comment